Upstairs Bathroom Renovation

Here is the second-floor bathroom, which was the only bathroom when the house was built in 1902. It essentially is the same footprint of the butler’s pantry and powder room which are directly below this on the first floor. Other than my liquid leaf graffiti on the walls, the bathroom looks as it did on the day we moved in. It would take almost four years for us to reach the point of renovating this space.

More bathroom graffiti.

My ploy of covering the walls and door with graffiti to expedite the renovation didn’t work, so we lived with the bathroom looking like this until February of 2020.

Bathroom demolition in process. We took the walls down to the lath.

We hoped the original hardwood floors would be in good enough shape to salvage, but they’d been destroyed over the years. Basically, the floors were a hodge-podge of the original hardwood and sheets of plywood over a very dodgy subfloor.

Here Mike has started rebuilding the subfloor.

He had to rebuild the subfloor in sections so he didn’t fall through to the first floor.

Next step after completing the subfloor was to set the tub.

We used construction foam to set the tub.

Here is the space with the drywall and most of the texturing complete.

From the other direction looking into the hall with the maid’s room beyond.

Here Mike has started framing out our “Chronicles of Narnia” enclosure for the tub/shower.

We painted the toilet gold. You can read my blog posts for the details regarding how we did this and other minutia about the project.

Of course, no gold toilet is complete without a fancy seat. This was painted by Diane Woodward, a brilliant artist who lives in Medoc, Ontario in Canada.

Next step is the paint, which is a color called Glamorous by Behr. Mike said he liked it, but I knew he didn’t, so I shifted gears.

Because Mike didn’t like the color, I decided to layer on some metallic ruby red paint to give the walls more interest.

The metallic ruby made the walls look like crushed velvet.

However, I wasn’t content to stop there, so I stenciled fish scales.

To get an iridescent look on the scales, using chalk paint brushes, I feathered layers of metallics and flash paints mixed with various pink and red colors.

Basically, it took forever.

And then I made mistakes whilst trying to match up the scales and had to paint over large sections. And it was ugly and not correctable without redoing everything. So I whacked up metal leaf over the blunders.

And the metal leaf looked very contrived. I just realized this metal splotch looks like Michigan’s lower peninsula.

I therefore began layering more paint and metal leaf to make the whole production look less contrived.

More layers, and more layers.

By now, I had the process down. So what started out looking like this …

… went to this …

…then this…

… and finally this.

This was a progress picture I staged for an Instagram post.

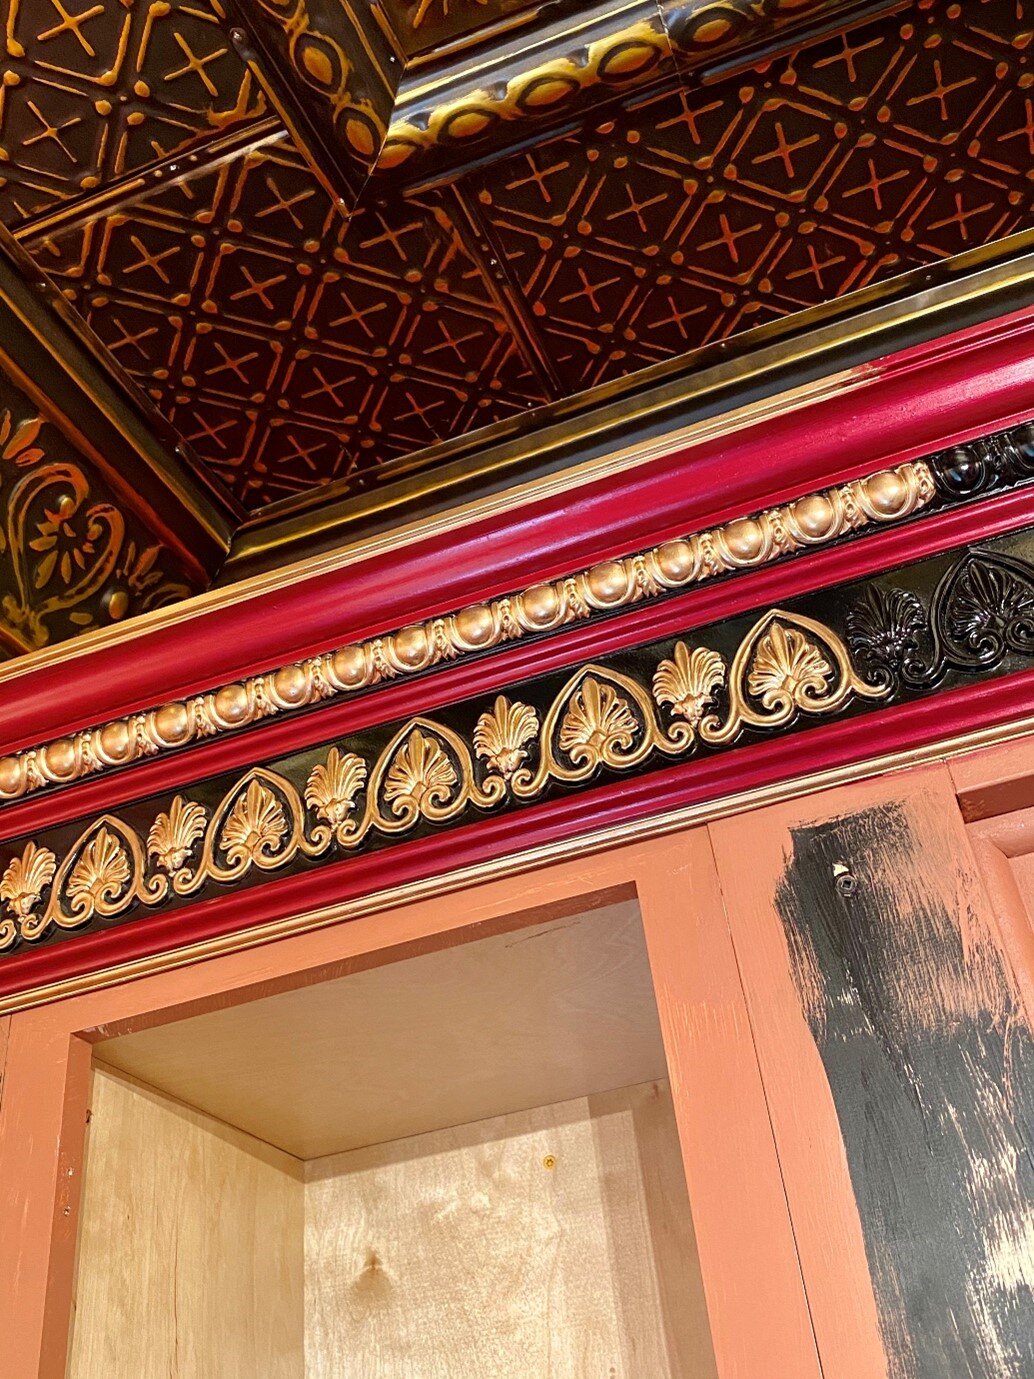
In the meantime, Mike finished installing the tin ceiling which is Pattern 29 in Artisan rubbed gold from American Tin Ceilings.

Next up was installing the tile and mural in the tub/shower area. The mural is a Alphonso Mucha reproduction. The off-black tile is from Tile Bar.

Here we have progress on the tile and storage insets. The tile took FOREVER to install.

Here’s the maestro at work in a plume of dust.

This shows the cabinet surround taking form with an arched entry into the tub area.

As we did for the kitchen, to create the cabinet, we ordered generic, pre-made cabinets and customized them to get the look we wanted. Here, we have the beginning of the “counter” along with inverted sconces/corbels that we used to create more of a look and feel of furniture.

I painted stripes on beadboard that would go inside the counter cubbies in the cabinet. I did monochrome to tie in the black and white zebra print sink.

I detail painted the corbels.

It’s starting to look snazzy!
More detail painting by me.

Mike looks like he’s on the verge of lunacy which is an accurate depiction for this period of time. As you can see, we’ve added lion’s head onlays on the cabinet doors and also reeded columns on pull out storage on each side of the drawers.

Now I’m ready to paint the floor. I was going to do the floor myself, but fortunately stumbled on artist Shannon Nelson (literally while I was on a walk) and hired her to paint trompe l’oiel koi fish.
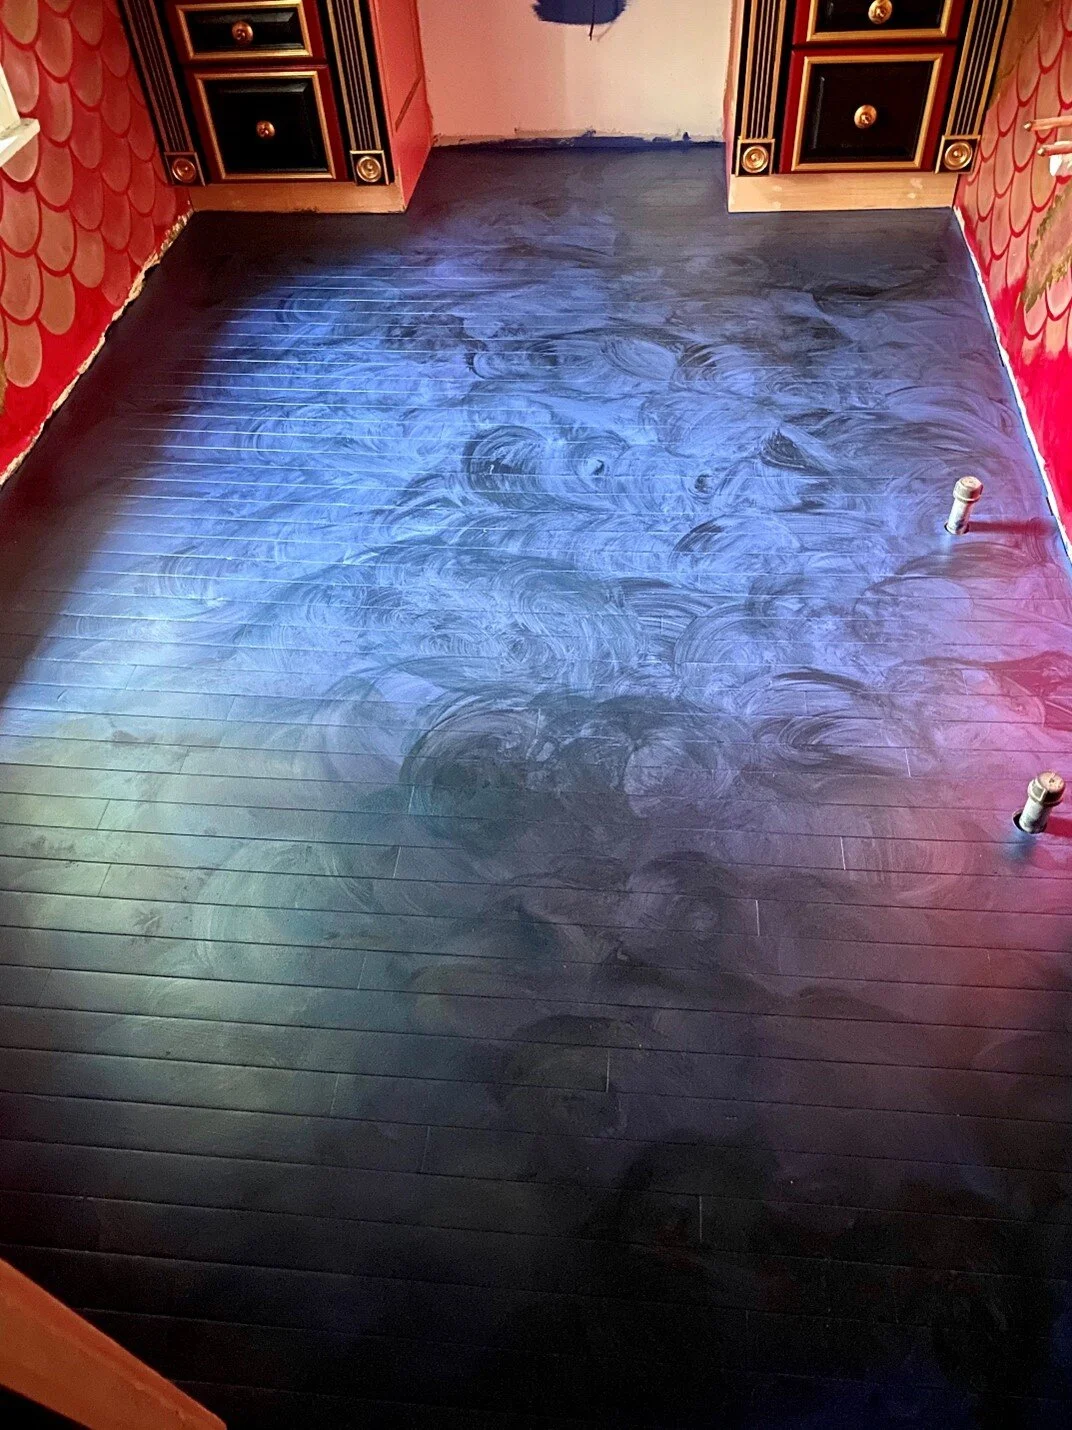
First I painted the undercoat to make it look sort of swirly like water.

This shows the beginning of Shannon’s fish.

More progress.

I think we could’ve stopped shortly after this, as I really liked the monochrome look of the fish.

But we ended up adding coral colors to tie in the wall color and the inset to the shower entrance which I’d painted, in turn, to tie in the corals in the shower mural. The swirls of the fish tails take the eye to the swirls in the mural.

Continuing the swirly motif, we installed this “Cindy Lou Who” chandelier by Cyan Designs.

We then covered the floors and continued tiling the shower. This room was my One Room Challenge project and we literally worked to the eleventh hour, finishing about an hour before I needed to get my blog post up to meet the deadline.

I took this photo at around 11:00 p.m. for the One Room Challenge post. The sink wasn’t even installed at this point and was just propped against the wall.

We also had the toilet just sitting there with the tank temporarily bracketed to the wall, as none of this was yet installed. I also put up curtains because the door wasn’t installed and there was an explosion of debris in the hall.

The same is true for the shower, which was not functional at this point.

The swan faucet was inspired by the ladies’ room at Anabel’s London. The Venetian mirror I’ve had for years.

I do love how the cabinet turned out.

And I plunked faux floral where the radiator would go. Then to bed we went.

It took a few more weeks to wrap things up after we recovered from the One Room Challenge push. The chair here is by Kat Garrand aka The Crazy Chair. The mermaid table is Design Toscano.

And this is the final result.